Categories help you structure and organize your product catalog in a logical and scalable way. In KatanaPIM, categories are flexible. You create them individually and connect them using parent categories to build structured category trails, from broad groups to very specific product types.
A category trail shows the path from a broad group to a specific product type.
Example:
Fashion
Fashion > Clothing
Fashion > Clothing > Shirts
Fashion > Clothing > Shirts > Short sleeve
Each level becomes more specific.
Important:
You do not create the full trail at once.
Each category is created separately first. Then you link them using a parent category.
Go to:
Categories → Add new
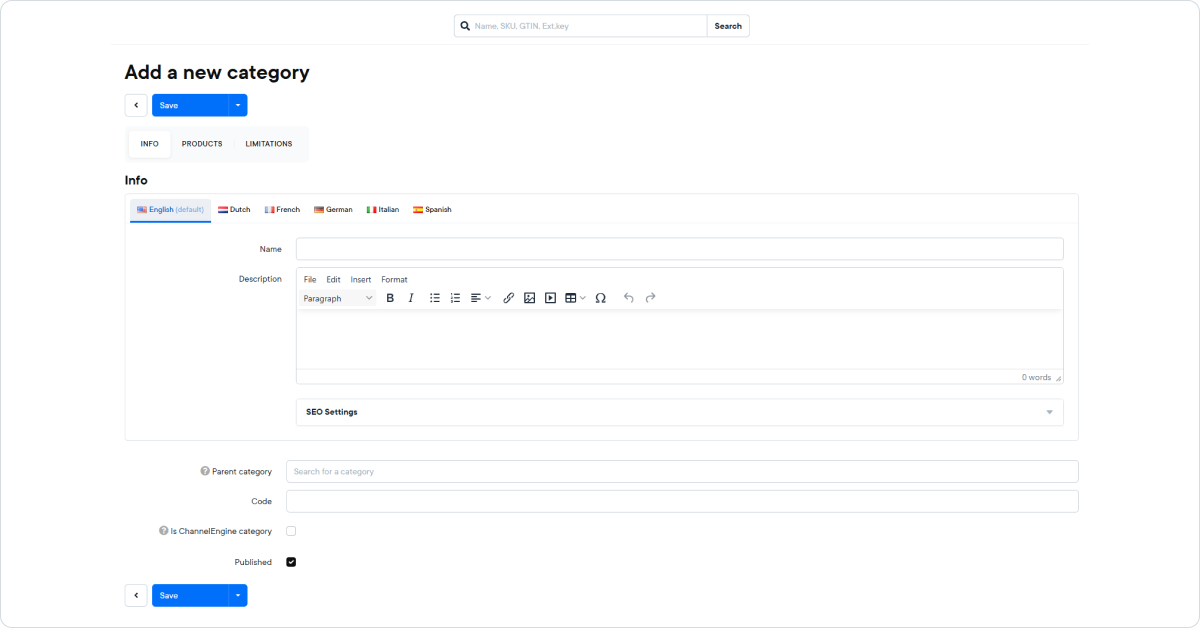
This is where you define the category itself.
Save your changes after editing.
Open the Limitations tab inside a category.
Limited to store, when enabled:
This is useful when:
Always save after making changes.
Besides via imports, there are two ways to assign categories to a product in KatanaPIM:
Both methods result in the same outcome. The difference is where you start.
This method is ideal when you want to manage multiple products within a specific category.
A selection panel opens on the right side.
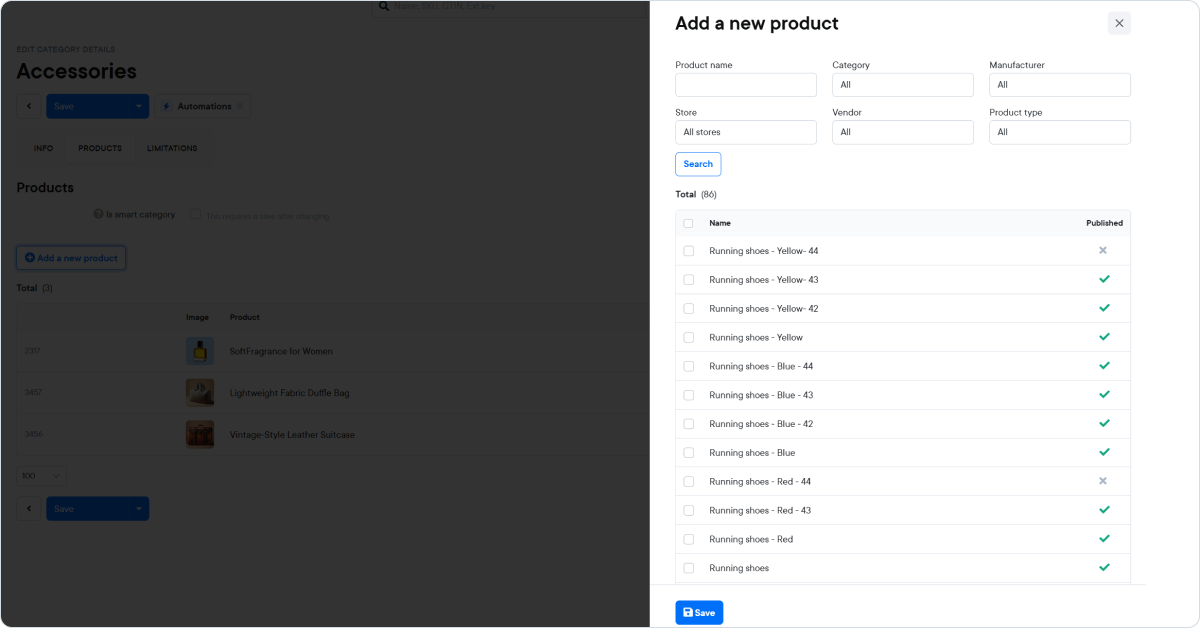
Inside the selection panel, you can narrow down products using filters such as:
Click Search to update the results.
You can then:
After selecting the desired products:
The selected products are now assigned to the category.
This method is ideal when you are editing an individual product.
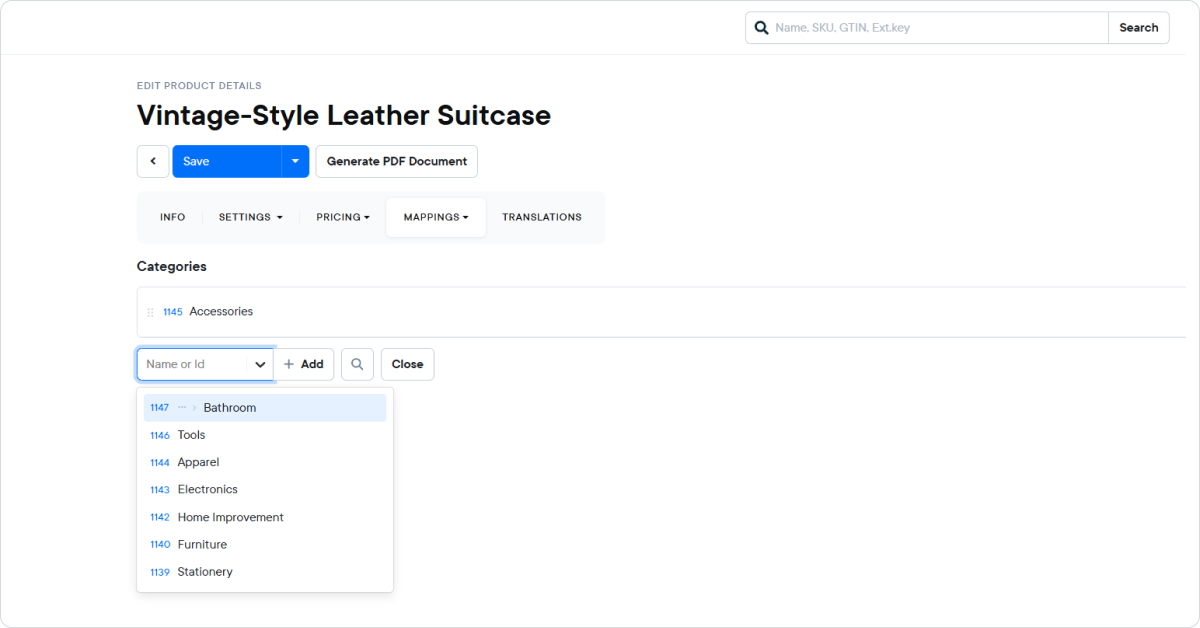
The product is now linked to the selected category.
Category Automations let you automatically assign Specification groups to products based on their category.
Instead of manually adding specification groups per product, you define the structure once on the category level. When a product is assigned to that category, KatanaPIM automatically links the right specification groups to that product.
This helps you keep product data consistent, scalable, and structured — without manual work.
Category Automations respect the category trail.
This means:
Example trail:
Fashion → Women → Dresses
If automations exist on:
Then assigning Dresses applies automations from all three levels.
It stops at the selected category level and does not go deeper than that.
Automations do not run instantly on every small change. They run based on specific triggers:
You can optionally limit an automation to one or more product types.
This is useful if a specification group should only apply to specific product structures.
Category Automations follow these rules:
Go to Categories, open a category, and click Edit.
Click Automations (top-right). A side panel opens.
Click Add automation and select the Specification group you want to assign automatically.
Optionally, select one or more Product types if the automation should only apply to certain product types.
Save the automation so it appears in the automation list.
(At this point, it is configured but not active yet.)
Click Publish to activate the automation.
After publishing, the automation will run based on the triggers described earlier.
